| Author | Message | ||
| Darryl - TR&328 (Tr328)
Junior Member Username: Tr328 Post Number: 55 Registered: 6-2003 |
I have to congratulate you on your work and having the balls to tackel a major service. Good work. Keep the pictures coming. | ||
| Jeff Green (Carguy)
Member Username: Carguy Post Number: 468 Registered: 10-2002 |
Well I managed to get the new belts on the motor, very straight forward procedure. I started plotting out an exhaust cam lobe, but still have to lay out the numbers on graph paper or something. But it appears that the lobes are symmetrical. I'll know more about this later on when I get a better handle on measuring the cams and their timing. I installed the new front main seal. Used a piece of exhaust pipe that was flared to fit the metal ring of the seal perfectly. It took a bit of doing but it went in smoothly. NOTE: Make sure you coat the seal with oil or grease or something to eliminate a dry start up, or you could be repeating this very soon! I put mine in dry without thinking....but using a piece of plastic and some oil I carefully swabbed it all over the seal. The new seal did NOT come with the garter spring that keeps tension between the seal and the crankshaft. I destroyed the original one removing the seal. I managed to find two new springs in our tool room, our company made these years ago. The are originally a straight tight wound spring with a reduced end that screws into the other end and makes a loop.  Here is a pic of the cam and retaining cap marks, sorry it's not too clear. They are aligned perfectly, after many rotations of the engine. This is a good sign. 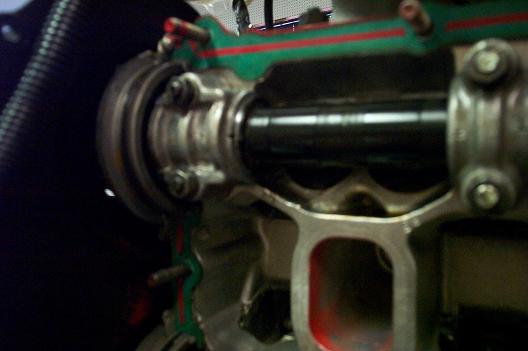 Here I am gently driving on the new tensioner bearings. If the surfaces are good and clean, they go on with very little trouble. 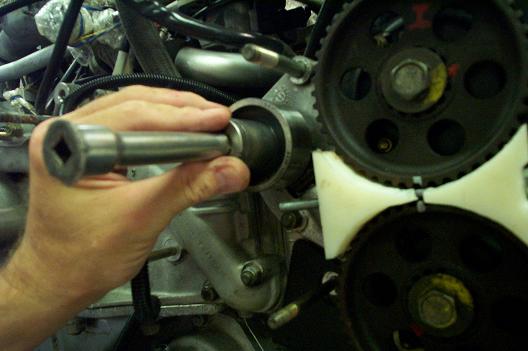 To help in installing the new belts, I used binder clips to hold the belts firmly into the pulley grooves. Compressing the tensioner and installing the belts it a bit of work for one person, but not too bad. 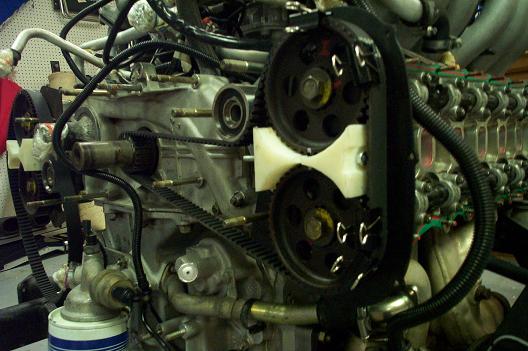 All in all, this is a simple procedure so far. The real test is yet to come. Like many experienced people have said, there are many places for error in trying to acurately measure the cam phasing. I need to make a bracket that firmly holds the indicator to a stud in the head. Then my readings will me more consistent. Measuring the exhaust cam lobe I did find that it is CONSTANTLY changing, although very little for about 100 degrees rotation, then the ramps come on quite steeply. The peak, where the last .100 inches of lift is occurs in about 60 degrees of rotation. Very interesting stuff. I'll post more later on. |