| Author | Message | ||
| Peter Polasek (Peterp)
Junior Member Username: Peterp Post Number: 94 Registered: 8-2002 |
Some additional comments: 1) Note that the retainer spring goes OUTSIDE the retainer. Once the spring is off and no longer under tension, it looks like it go between the caliper and the retainer. I spent at least 30 minutes putting it on the wrong way -- I was able to get it on wrong, but the spring would pop off after hitting the brakes a few times. Very frustrating, I finally figured it out after looking closely at Rob's photos. I still found it difficult to put them on even when I was finally doing it the right way, but the technique that seems to work best is to anchor one side of the spring and then use two pairs of long-nosed pliers to pretension the spring to get the other side in. 2) The new pads on one of the four wheels were off center on the rotor -- one pad was touching the rotor and the other side had a large gap. I had to take the additional step of removing the caliper mounting bolts and moving the adjustment shims to center them. I ended up moving the 3 spacers to the other side of the caliper and added an additional washer to get the pads centered on this wheel only. The original pad on this wheel came out in two pieces when I disassembled it -- probably a result of this problem. It's worth checking the centering of the pads after you install them -- adjusting the shims isn't difficult if it isn't centered. 3) Cleaning the calipers -- the calipers are fairly easy to clean so that they end up looking like polished aluminum. I used alternating applications of brake cleaner spray and mothers aluminum polish applied with a toothbrush. I cleaned only the outside portion of the caliper to avoid getting cleaner/polish on the pads or disk. It takes about 20 minutes per caliper, but the caliper looks much better through the wheel. | ||
| Rob Lay (Rob328gts)
Board Administrator Username: Rob328gts Post Number: 4463 Registered: 12-2000 |
Steve, good point. I bled the brakes the next day and the container was about half full, so I probably got lucky. Wouldn't want all that pressure with no where to go. The rears are two piece, but the fronts are fixed calipers. | ||
| Dave (Maranelloman)
Intermediate Member Username: Maranelloman Post Number: 1184 Registered: 1-2002 |
Nice leg... | ||
| Steve Magnusson (91tr)
Intermediate Member Username: 91tr Post Number: 1679 Registered: 1-2001 |
Nicely done/documented Rob (I'm still a bit surprised that it's a single-piston floating-caliper design -- I guess F caved in to do something about the squealing of the multi-piston fixed-caliper design and maybe save some cost), but I'd add that before doing Step 6 make sure there's room in the Master Brake Cylinder for the fluid that will be forced out of the calipers (if you're not opening the bleed screw). | ||
| Rob Lay (Rob328gts)
Board Administrator Username: Rob328gts Post Number: 4461 Registered: 12-2000 |
Step 1: Inspect rotors for cracking, excessive lip, warping, or thickness below tolerance. Any of the above problems would probably require new rotors, except for a lip which can be "turned" at the local auto parts store. 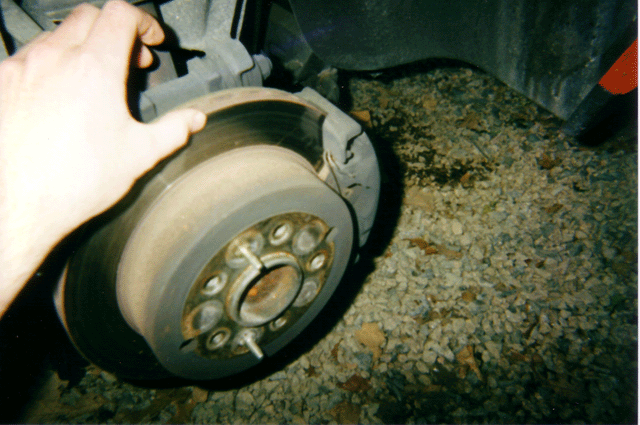 Step 2: From back of caliper inspect pad thickness. Notice how I hardly have any pad left, it's down to the pad base. 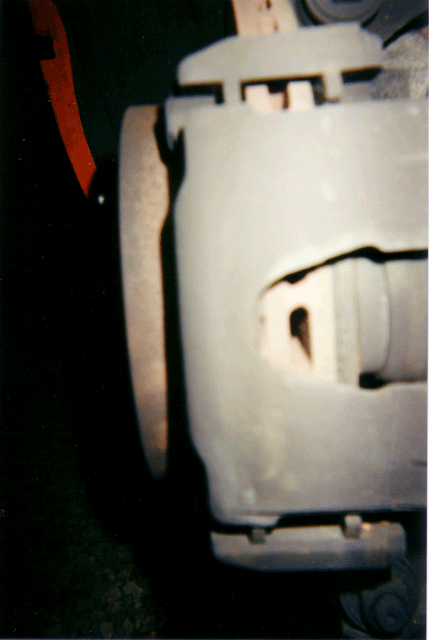 Step 3: Remove two bolts that attach the caliper to the base.  Step 4: Remove the caliper clip with two pliers and maybe a screw driver as a lever. 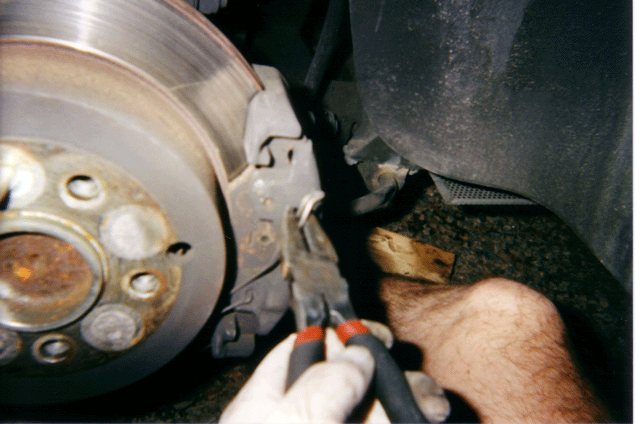 Step 5: Wiggle caliper off of base. Make sure not to hang from brake lines, support with wire or put on suspension arms. 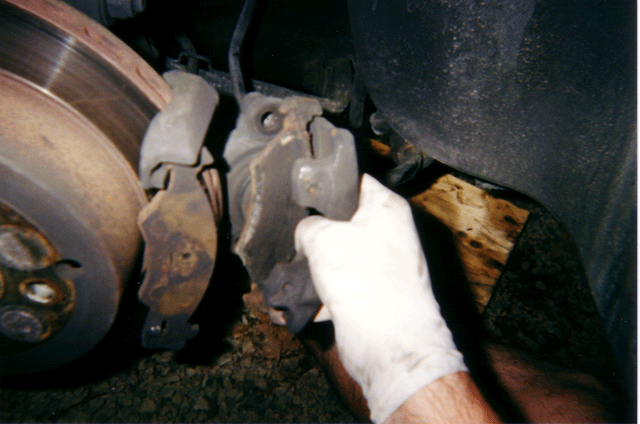 Step 6: Use a brake piston pusher to force piston back in casing so that the new thick pads will fit. I put a screw driver between the piston and pusher so I don't have to screen the end all the way into the hollow inside. 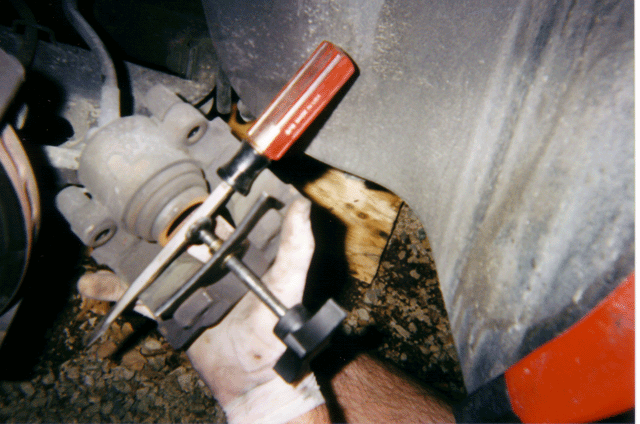 Step 7: Place new pads. Outward pad fits right in to brake frame. Inward pad goes into piston with clamps. 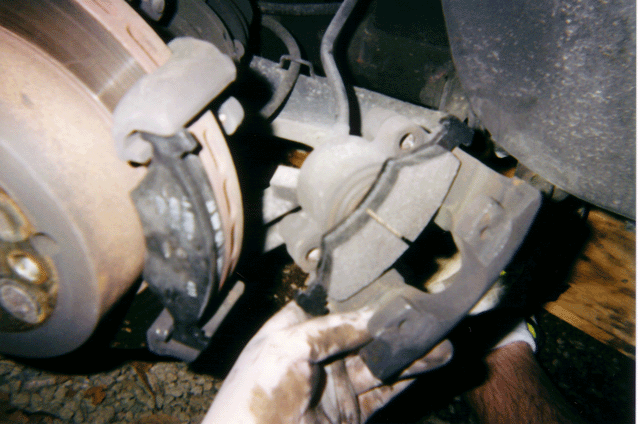 Step 8: Put a little lock tight on the end of the two bolts. I don't know if this is standard, but I noticed the previous installer had done the same as you could see the residue on the bolts. 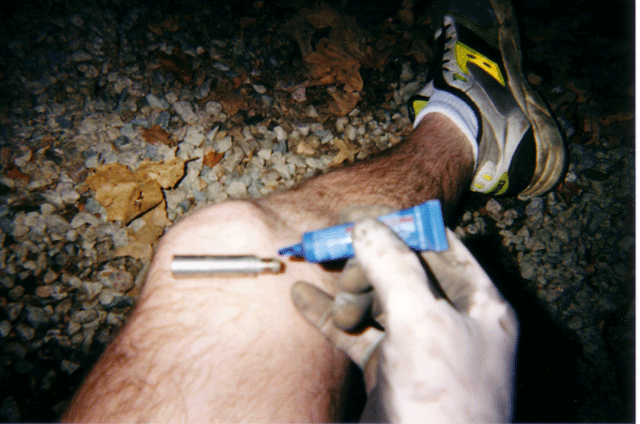 Step 9: Tighten bolts back down and replace rubber dust covers and clip.  Step 10: Finished!!! 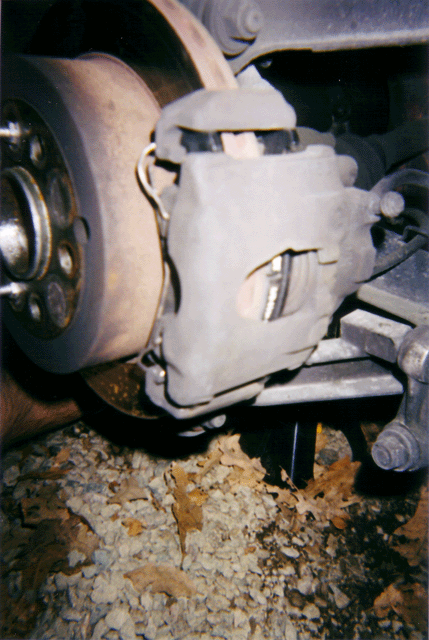 |